
Step 1: Create a framework to specify my needs.
I created a framework of bullet points to specify my needs for the user flow. What I like about framework or template is that I can clarify my thoughts and reuse it next time. I can simply fill in the blank without having to write a long paragraph of prompt.
- [Product (with platform info)] Mobile application for Meal planning
- [Target Users (with their needs)] Busy families who want to plan for meals easily.
- [The Specific Flows to Create] Browse recipes and plan meals for this week.
- [Supplemental Request] Suggest UI elements and interactions that would enhance the user experience for the target users.
Then instead of dumping into ChatGPT, I needed to incorporate them properly into a prompt. So, I asked ChatGPT for help.
Step 2: Write the prompt with Reverse Prompt Engineering.
Reverse Prompt Engineering is essentially working backward from a desired result to figure out the best questions that would lead an AI to produce that result.
In my case, it was a simple task, so I just asked ChatGPT to write the prompt for me.

And I simply copied ChatGPT’s answer and pasted directly into the message box as my question.

A lot of things generated. That was a good starting point for me to revise and refine the information.
Step 3. Create wireframes based on the prompt.
For the purpose of demonstration, I narrowed down the scope of the user flows and only focused on one flow instead — “Browsing Recipes”.
I copied ChatGPT’s response of the flow “Browsing Recipes” and pasted it into WireGen, another Figma AI plugin that I played with.
It took about a minute to generate the wireframe. Thanks to the loading screen, it didn’t feel that long.
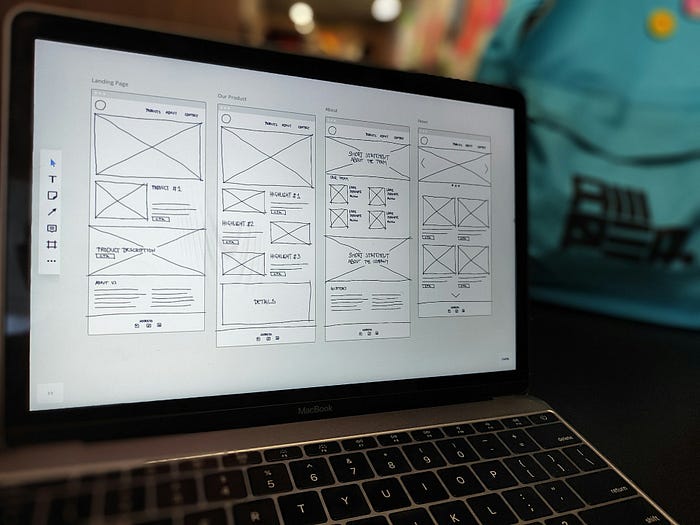
This is what I received:

It came with an explaination text alongside the wireframe.
The style looked more like a “wireframe” compared to the result from my Wireframe Designer test in the newsletter issue last week.

Summary
Originally, I didn’t even plan to test WireGen given the not-very-good user reviews. My expectations were very low, but it turned out to be a pleasant surprise.
Pros:
- Description text was also created alongside the wireframe.
- It expanded on my prompt and provided additional details.
- 25 wireframe screens in the Free plan — more than Wireframe Designer’s 10.
- The interface was intuitive to use.
Cons:
- Missing key details from my prompt, such as “Apply Filters”.
- Character count limit for the prompt: Maximum of 500 (more in the Paid Tiers).
- Unlike Wireframe Designer, the wireframe was not generated with Auto Layout in Figma.


.png)

No comments
Post a Comment